Sears MANOR Installationsanleitung

Kategorie
Geschirrspüler
Typ
Installationsanleitung

Dieses Handbuch ist auch geeignet für

IMPORTANT: For assistance with assembly, or to request
missing parts, please log on to our website at www.keter.com,
or contact Customer Service.
IMPORTANT : Pour bénéficier d'une assistance lors du
montage ou pour réclamer des pièces manquantes, veuillez
vous connecter sur notre site web www.keter.com ou contacter
le Service clients.
IMPORTANTE: Para recibir asistencia sobre el montaje o para
solicitar partes faltantes, ingrese a nuestra página de Internet
www.keter.com o contáctese con Atención al Cliente.
WICHTIG: Für Hilfe bei der Montage oder um fehlende Teile
anzufordern, loggen Sie bitten in unsere Internet Seite
www.keter.com ein oder kontaktieren Sie den Kundendienst.
BELANGRIJK: Ga voor hulp bij het monteren of voor het
aanvragen van onderbrekende onderdelen naar onze website
op www.keter.com of neem contact op met de Klantenservice.
IMPORTANTE: Per assistenza sull’assemblaggio o per
richiedere parti mancanti, collegarsi al nostro sito web
www.keter.com, oppure contattare il Servizio Clienti.
IMPORTANTE: Para obter assistência sobre a montagem ou
para solicitar peças registe-se no nosso site de Internet
www.keter.com ou contacte o serviço de assistência ao cliente.
MANOR
U.S.
Call Toll Free
: 1-(888)-374-4262
Fax: 317-575-4502 11495 North Pennsylvania St., Suite 110,
Carmel, Indiana, 46032, U.S.A .
Canada
Appel gratuit:
1-(800)-661-6721
Call Toll Free:
1-(800)-661-6721
United Kingdom:
Keter (UK) Ltd.
Unit 4, Woodgate Business Park, Clapgate Lane,
Birmingham, B32 3DB, United Kingdom.
Tel: 0121-5060008, Fax: 0121-4220808
Spain
Eduardo Cobo
SPV KETER
TLF:0034 949 27 74 21
FAX:0034 949 34 89 76
Scandinavia
Kim M. Nielsen [[email protected]]
+45 - 70 70 21 99
Germany
Phone: +49(0)6074-8931-0
Telefax: +49(0)6074-8931-11
France
00 33 1 34 07 99 00
Other European Countries:
Keter Benelux
Ericssonstraat 17, Postbus 224, 5120 AE Rijen,
the Netherlands. Tel: 31-1612-28301,
Fax: 31-1612-28322
CUSTOMER SERVICE
REQUIRED TOOLS
The following tools are required for shed assembly:
539918
ASSEMBLY INSTRUCTIONS | CONSIGNES DE MON-
TAGE | INSTRUCCIONES DE MONTAJE | MONTAGE-
ANLEITUNG | SAMLEVEJLEDNING | MONTAGE-
VOORSCHRIFTEN | ISTRUZIONI D’ASSEMBLAGGIO
| INSTRUÇÕES DE MONTAGEM
Manor Shed | Abri de rangement Manor | Cobertizo
Manor
| Manor Schuppen | Manor-schuurtje |
Deposito Manor
| Abrigo Manor
130W x 193D x 197.5H cm
| 51”L x 76”W x 78H
WWW.KETER.COM
6' x 4'
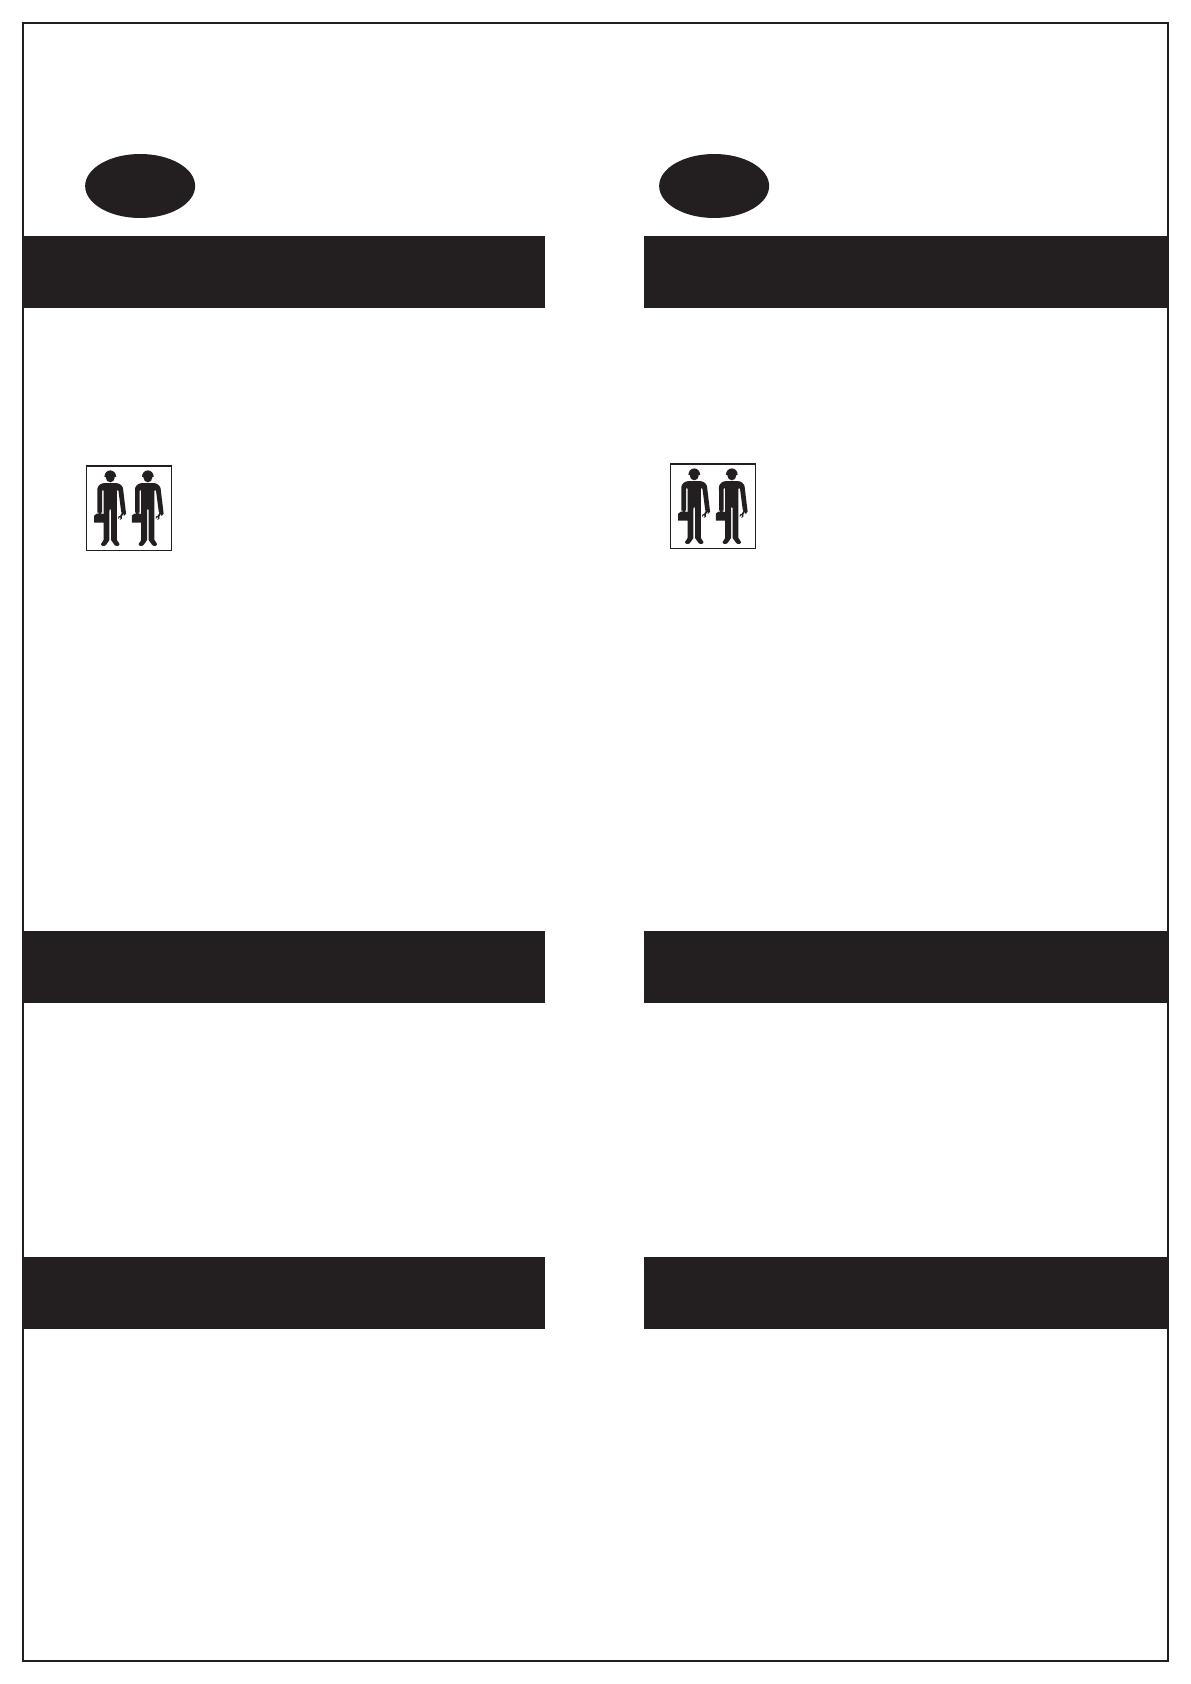
Se necesitan dos personas para armarlo.
NIVELE EL SUELO
SELECCIONE CON CUIDADO EL LUGAR DONDE
COLOCARÁ SU COBERTIZO. LA SUPERFICIE DEL
SUELO DEBE SER PAREJA. LE RECOMENDAMOS
ESPECIALMENTE QUE CONSTRUYA UNA BASE DE
MADERA O CEMENTO PARA USAR COMO CIMIENTO.
ADVERTENCIA
• Saque las piedras del área.
• Retire todas las plantas, raíces y otros
obstáculos.
• Rastrille la tierra.
• Nivele el suelo usando un objeto largo y plano
(por ejemplo, una viga de madera).
Para armar correctamente algunas de las
partes del cobertizo, debe mantenerse a 27
pulgadas / 70 cm de distancia de cualquier
cerca o pared, hasta que esté completamente
armado.
Las medidas externas de la base son:
185 cm An. x 125 cm Pr.
Algunas partes tienen bordes de acero. Tenga
cuidado al manejar estos componentes. Use
siempre guantes de trabajo, anteojos protectores
y mangas largas para armar el cobertizo o realizar
cualquier tarea de mantenimiento en el mismo.
No intente armar el cobertizo en días de viento
fuerte o de baja temperatura.
ANTES DE EMPEZAR EL ARMADO
• Retire todas las partes del paquete y
distribúyalas sobre el suelo.
• Se recomienda usar una superficie de trabajo
limpia para diseminar las partes y para realizar
los pasos de prearmado.
• Lea todas las instrucciones antes de empezar,
y siga remitiéndose a ellas durante el armado.
Asegúrese de seguir todos los pasos con
atención.
Zwei Personen zur Montage notwendig.
SORGEN SIE FÜR EINE EBENE GRUNDFLÄCHE
BITTE WÄHLEN SIE IHREN MONTAGESTANDORT
SORGFÄLTIG AUS. DIE BODENFLÄCHE MUSS EBEN
SEIN. ES WIRD EMPFOHLEN, DASS SIE EINE
HOLZ- ODER BETONUNTERLAGE ALS FUNDAMENT
ANLEGEN.
WICHTIG
Beseitigen Sie Steine.
• Entfernen Sie alle Pflanzen, Wurzeln und andere
Hindernisse.
• Pflügen Sie den Boden durch.
• Ebenen Sie den Boden mit Hilfe eines langen,
flachen Objektes (wie z.B. eines Holzbalken)
aus.
Um verschiedene Montageteile des Schuppens
richtig zu montieren, sollte während der
Montage ein Mindestabstand von 27" / 70 cm
von jeglichem Zaun oder Wand eingehalten werden.
• Äußere Abmessungen der Grundfläche betragen:
185cm L x 125cm B
Manche Teile haben Stahlkanten, bitte seien Sie
vorsichtig beim Umgang dall'imballaggio. Tragen Sie
bei der Montage des Gartenschuppens oder
Wartungsarbeiten stets Arbeitshandschuhe, eine
Schutzbrille und Kleidungsstücke mit langen Ärmeln.
Versuchen Sie nicht, den Gartenschuppen bei
starkem Wind oder niedrigen Temperaturen zu
montieren.
VOR MONTAGEBGINN
Entnehmen Sie alle Teile aus der Verpackung und
legen Sie diese auf dem Boden aus.
Es wird empfohlen, die Einzelteile auf einer
sauberen, glatten Unterfläche auszubreiten und
Vorbereitungen für den Zusammenbau zu treffen.
Lesen Sie die Anleitung vor Beginn der Montage
gründlich durch und richten Sie sich dann nach
dieser.
• Vergewissern Sie sich, dass Sie allen
Montageschritten genau folgen.
ES DE
Montage vereist twee personen
MAAK DE GROND EGAAL
SELECTEER MET ZORG UW BOUWPLAATS. HET
OPPERVLAK VAN DE GROND MOET EGAAL ZIJN. HET
WORDT TEN ZEERSTE AANGERADEN DAT U EEN
HOUTEN OF BETONNEN BASIS MAAKT OM ALS
FUNDAMENT TE GEBRUIKEN.
WAARSCHUWING
• Verwijder stenen.
• Verwijder alle planten, wortels en andere
obstakels.
• Hark de grond.
• Maak de grond met een lang, vlak onderwerp
(bijv. een houten balk) egaal.
• Om de onderdelen van het schuurtje juiste te
monteren, moeten zij ongeveer 70 cm/27 inch
van een heg of muur worden geplaatst totdat
het volledig is gemonteerd.
• Buitenste afmetingen van de basis zijn:
185B x 125D cm
Sommige onderdelen hebben stalen randen.
Wees voorzichtig met het omgaan met deze
onderdelen. Draag altijd werkhandschoenen,
oogbescherming en lange mouwen als u uw
schuurtje monteert of onderhoud.
Probeer niet te monteren op dagen met sterke
wind of lage temperaturen.
VOORDAT U BEGINT TE MONTEREN
• Verwijder alle onderdelen uit de verpakking en
spreidt ze uit over de grond.
• U wordt aanbevolen een schoon werkoppervlak
te gebruiken om de onderdelen op uit te
spreiden en voor de voorbereiding op de
montage
• Bekijk alle instructies voordat u begint en
raadpleeg tijdens de montage de instructies.
• Zorg dat u alle stappen uitvoerig opvolgt.
Il montaggio richiede due persone
LIVELLAMENTO DEL TERRENO
SCEGLIERE CON CURA LA POSIZIONE OVE MONTARE
LA CASETTA. LA SUPERFICIE DEL TERRENO DEVE
ESSERE BEN LIVELLATA. SI RACCOMANDA VIVAMENTE
DI COSTRUIRE UN BASAMENTO IN LEGNO O IN
CALCESTRUZZO, DA UTILIZZARE COME FONDAMENTA.
ATTENZIONE
• Eliminare le pietre
• Rimuovere piante, radici e altri ostacoli
• Livellare il terreno
• Mettere a livello il terreno utilizzando un oggetto
lungo e piatto (ad es. un asse di legno)
Per garantire il corretto assemblaggio di alcune
parti, il capanno andrebbe tenuto a una
distanza di circa 27" / 70 cm da eventuali
recinzioni o muri fino al termine
dell'assemblaggio.
• Dimensioni esterne della base:
185 L x 125 P.
Alcune parti presentano bordi in acciaio. Fare
attenzione nel maneggiare i componenti. Indossare
sempre guanti da lavoro, protezioni per gli occhi e
maniche lunghe durante il montaggio o durante la
manutenzione.
Evitare di effettuare il montaggio in presenza di
forte vento o basse temperature.
PRIMA DI INIZIARE MONTAGGIO
Rimuovere tutti i pezzi mit allen Teilen e
metterli da una parte.
Si raccomanda l’uso di un piano da lavoro
sgombro per la sistemazione dei componenti e
lo svolgimento delle fasi di preassemblaggio
Rileggere tutte le istruzioni prima di iniziare e
continuare a fare riferimento alle istruzioni
anche durante il montaggio.
Accertarsi di seguire attentamente tutte le fasio.
NL IT
kc (x2)
rp
rc (x4)
cc (x
4) 1683mm
fc1 (x2) 1720mm
fc2 (x2) 1077mm
rc2
rc1
bw
fw
d
sw
rc
rc
rc
kc
cc
cc
cc
t
t
t
rc
2
fc1
fc1
fc2
wsw
rc
1
rc2
rc2
pls (x1)
v (x
1) t (x4) dl (x1)
fl (x
1)
dh (x
2)
s12b (x
21)
12mm
f-in (x1)
acw
f-out (x
1)
PARTS
s26b (x118)
26mm
sc15 (x7)
16mm
cc
rc1 (x2) 1716mm
rc2 (x4) 585mm
1
fc2
t
fc1
FLOOR ASSEMBLY
2
t (x1)fc2 (x
1)
1075mm
fc2 (x1)
1075mm
fc1 (x1)
1720mm
fl (x1)
1130x1770mm
A
B
fc1 (x1)
1720mm
t (x3)
fc2
t
t
fc1
t
IMPORTANT!
Fully fit the
panels inside
the profiles.
3
4
180
s26b (x10)
26mm
180
IMPORTANT!
Fully fit the
panels inside
the profiles.
DOOR ASSEMBLY
5
dl (x1)dh (x2)
dh
dh
dl
d (x1)fw (x1)
s12b (x21)
12mm
IN
OUT
WALL ASSEMBLY
6
cc (x1)
1680mm
cc
On which side of the shed do you
want your window ?
Assemble the panel with the
window opening on the direction
you want it to be
7
8
wsw (x1)bw (x1)
1 2
1 2
s26b (x8)
26mm
IMPORTANT!
Fully fit the
panels inside
the profiles.
IMPORTANT!
Fully fit the
panels inside
the profiles.
1 2
1 2
9
10
cc (x1)
1680mm
sw (x1)
cc (x1)
1680mm
fw+d (x1)
B
B
A
A
B
B
A
A
s26b (x8)
26mm
s26b (x8)
26mm
IMPORTANT!
Fully fit the
panels inside
the profiles.
IMPORTANT!
Fully fit the
panels inside
the profiles.
12
11
c
1 2
cc (x1)
1680mm
s26b (x8)
26mm
s26b (x8)
26mm
IMPORTANT!
Fully fit the
panels inside
the profiles.
14
13
ROOF ASSEMBLY
rc (x1)
rc
1 (x1) 1716mm
r (x1)
rc
2 (x1) 585mm
rc
rc1
rc2
rc (x3)
rc
1 (x1) 1716mm
rc2 (x3) 585mm
r
r
rc
rc
rc
rc1
rc2
rc2
rc2
r
s26b (x8)
26mm
s26b (x8)
26mm
IMPORTANT!
Fully fit the
panels inside
the profiles.
IMPORTANT!
Fully fit the
panels inside
the profiles.
16
15
180
180
s26b (x8)
26mm
18
17
IN
x4
x2 x2
x2 x2
x4
1
2
s26b (x16)
26mm
IMPORTANT!
Fully fit the
panels inside
the profiles.
1 2
1 2
s26b (x4)
26mm
20
19
k (x2)
v (x2)
VENT ASSEMBLY
CLICK
x2
CLICK
Push vent into position. Your helper
holds the wall from the inside.
CLICK
WINDOW ASSEMBLY
21
22
wt (x1)
s (x1)
f-out (x1)
f-out
2
1
2
1
3
f-out
1 2
2
1 2
1 2
f-in (x1)
f-in
24
23
FOUNDATION ATTACHMENT
(Optional)
x1
x1
x1
x1
IN
30-40 mm
Wood
NOT INCLUDED
Concrete
sc16 (x7)
16mm
x7
  • Page 1 1
  • Page 2 2
  • Page 3 3
  • Page 4 4
  • Page 5 5
  • Page 6 6
  • Page 7 7
  • Page 8 8
  • Page 9 9
  • Page 10 10
  • Page 11 11
  • Page 12 12
  • Page 13 13
  • Page 14 14
  • Page 15 15
  • Page 16 16
  • Page 17 17
  • Page 18 18
  • Page 19 19

Sears MANOR Installationsanleitung

Kategorie
Geschirrspüler
Typ
Installationsanleitung
Dieses Handbuch ist auch geeignet für