6Verschrauben Sie den Montagerahmen
oben und unten mit den vier Kreuz-
schlitzschrauben (Nr. 4) aus dem
Lieferumfang des XZENT- Systems.
Screw down the mounting frame
at the top and bottom with the four
Phillips screws (No. 4) supplied
with the XZENT system kit.
7Montieren Sie die GPS-Antenne (Nr. 14)
an einer geeigneten Stelle und achten
Sie darauf, dass der GPS-Empfang
nicht durch die Abschattung von
metallischen Fahrzeugteilen negativ
beeinflusst wird (Wärmeschutz-
verglasung etc.). Verlegen Sie das
Anschlusskabel anschließend in den
Radioschacht.
Fit the GPS antenna (No. 14) at a
suitable place, and make sure that
the GPS reception is not adversely
affected due to shadowing by me-
tallic vehicle parts (thermal glazing
etc.). Next run the connecting cable
to the radio slot.
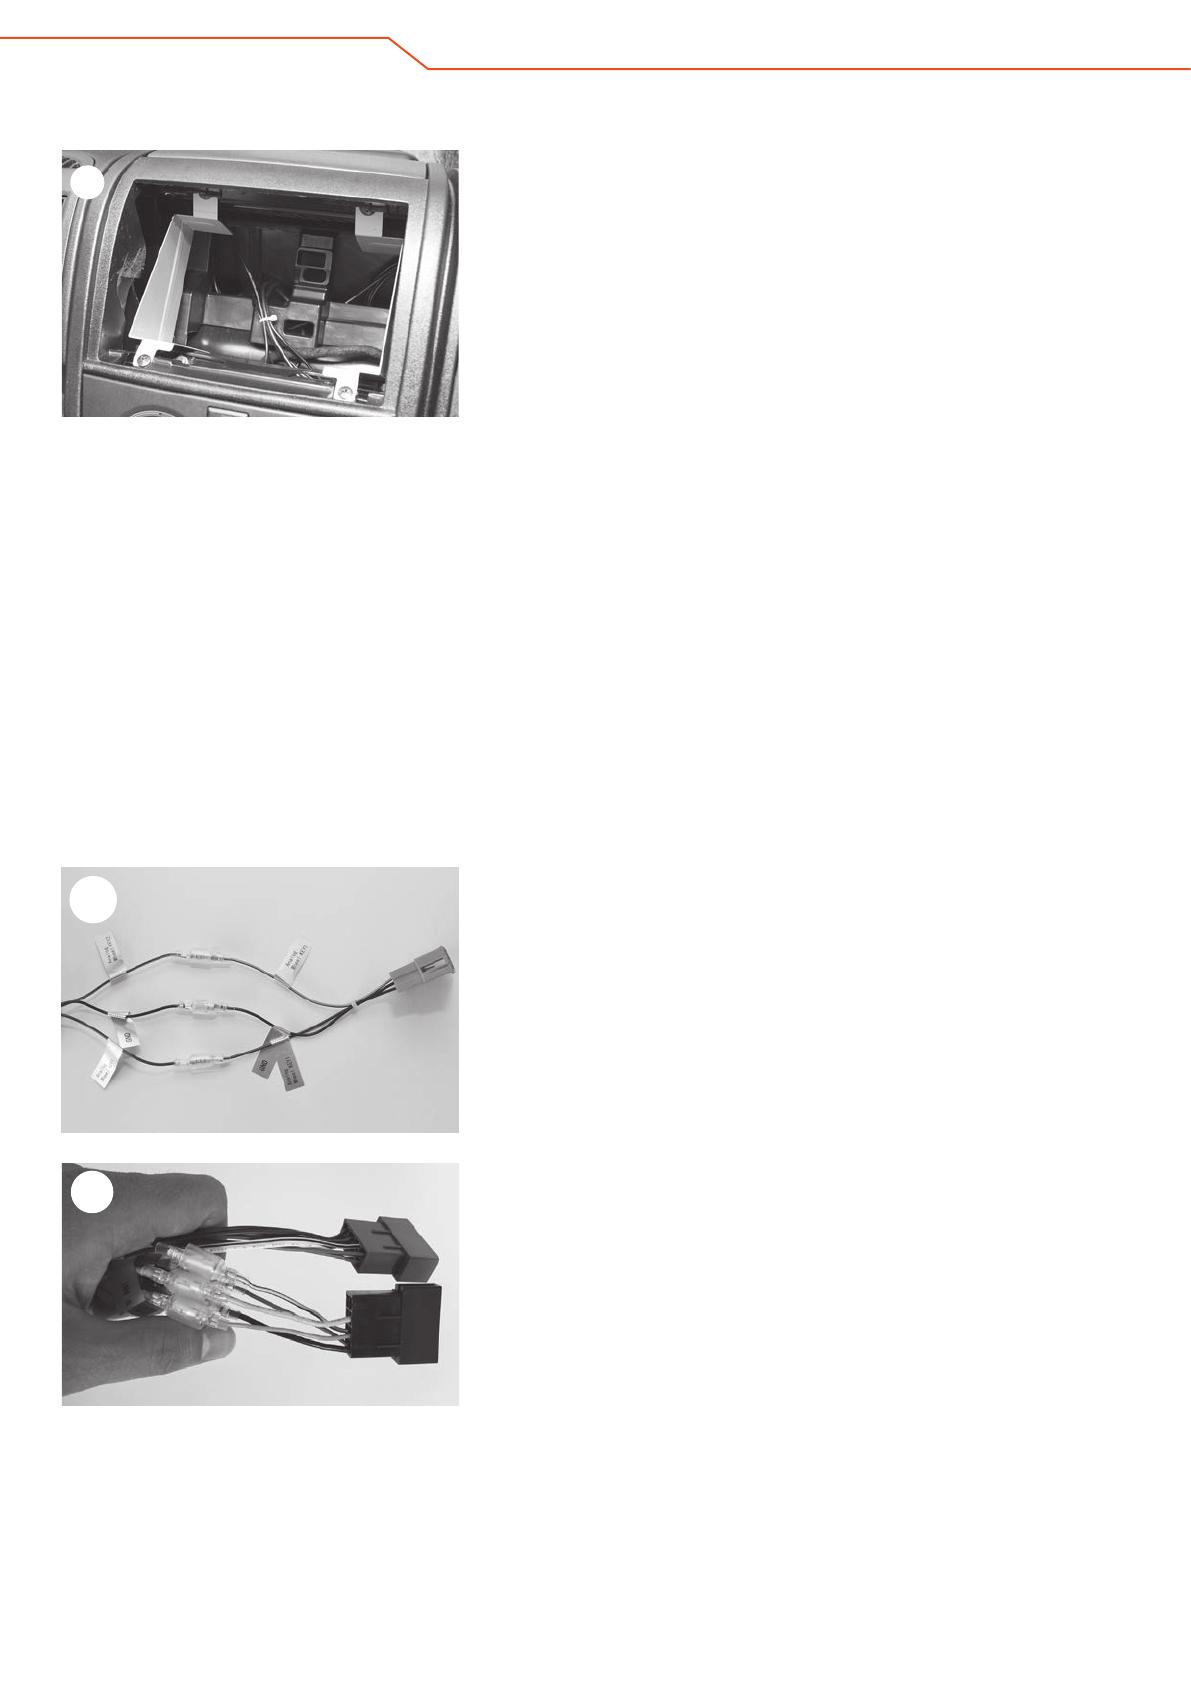
– OPTIONAL –
If your Car is equipped with a resistor
based multifunction steering wheel
you have to connect the enclosed
SWC-adapter (No. 12) with the Main
connection cable (No. 11 ) and the
20-pin connector on the vehicle side.
10
Run the USB extension cable (No. 17)
from the radio slot to the position you
want.
9Verlegen Sie die USB-Verlängerungs-
kabel (Nr. 17) vom Radioschacht an die
von Ihnen gewünschte Stelle.
– OPTIONAL –
Falls Ihr Fahrzeug mit einem
widerstandsbasierenden
Multifunktionslenkrad ausgestattet
ist müssen Sie den beiliegenden
LFB-Adapter (Nr. 12) mit dem
Hauptanschlusskabel (Nr. 11 ) und
dem Fahrzeugseitigem 20 Pin
Stecker verbinden.
10
6
8Falls Sie das mitgelieferte externe
Mikrofon (Nr. 9) verwenden möchten,
montieren Sie es jetzt und verlegen das
Anschlusskabel anschließend in den
Radioschacht. Je nach Präferenz und
Wahl des geräte- internen oder exter-
nen Mikrofons, muss die Mikrofonquelle
für den Bluetooth Modus im Geräte-
menü entsprechend angepasst werden.
If you wish to use it, now fit the
external Bluetooth microphone (No. 9)
supplied, and run the connecting
cable to the radio slot. Depending on
preference and your choice of an
external or device-internal microphone,
the microphone source for the Bluetooth
mode must be correspondingly changed
in the device menu.
Verbinden Sie das Hauptanschluss-
kabel (Nr. 11 ) des XZENT-Systems
(Nr. 1) mit den ISO-Steckern des
Fahrzeuges.
Beim Einsatz einer Rückfahrka-
mera muss für die automatische
Umschaltung das Rückfahrsignal
vom Fahrzeug mit dem Reverse
Anschluss des XZENT Systems
verbunden werden.
Handbremssignal an der Hand-
bremse abnehmen und an „Parking“
anschließen, damit Videos im
Stand geschaut werden können.
ACHTUNG!!!
Das Abspielen von Videodateien
während der Fahrt ist vom Gesetz-
geber nicht zulässig. Aus diesem
Grund wird der Bildschirm bei
Bewegen des Fahrzeuges ausge-
schaltet.
Connect the main cable (No. 11 ) of
the XZENT system (No. 1) to the
ISO plug connectors of the vehicle.
When using areversing camera
system, the reversing signal from
the vehicle must be connected to
the reverse connection of the
XZENT system for automatic
switching.
Relay the handbrake signal from
the handbrake and connect it to
„Parking“ to enable videos playback
function with stationary vehicle.
ATTENTION!!!
Playback of videos while driving
is not permitted by law. For this
reason the video playback function
is blocked while the vehicle is
moving /driving.
11
11


