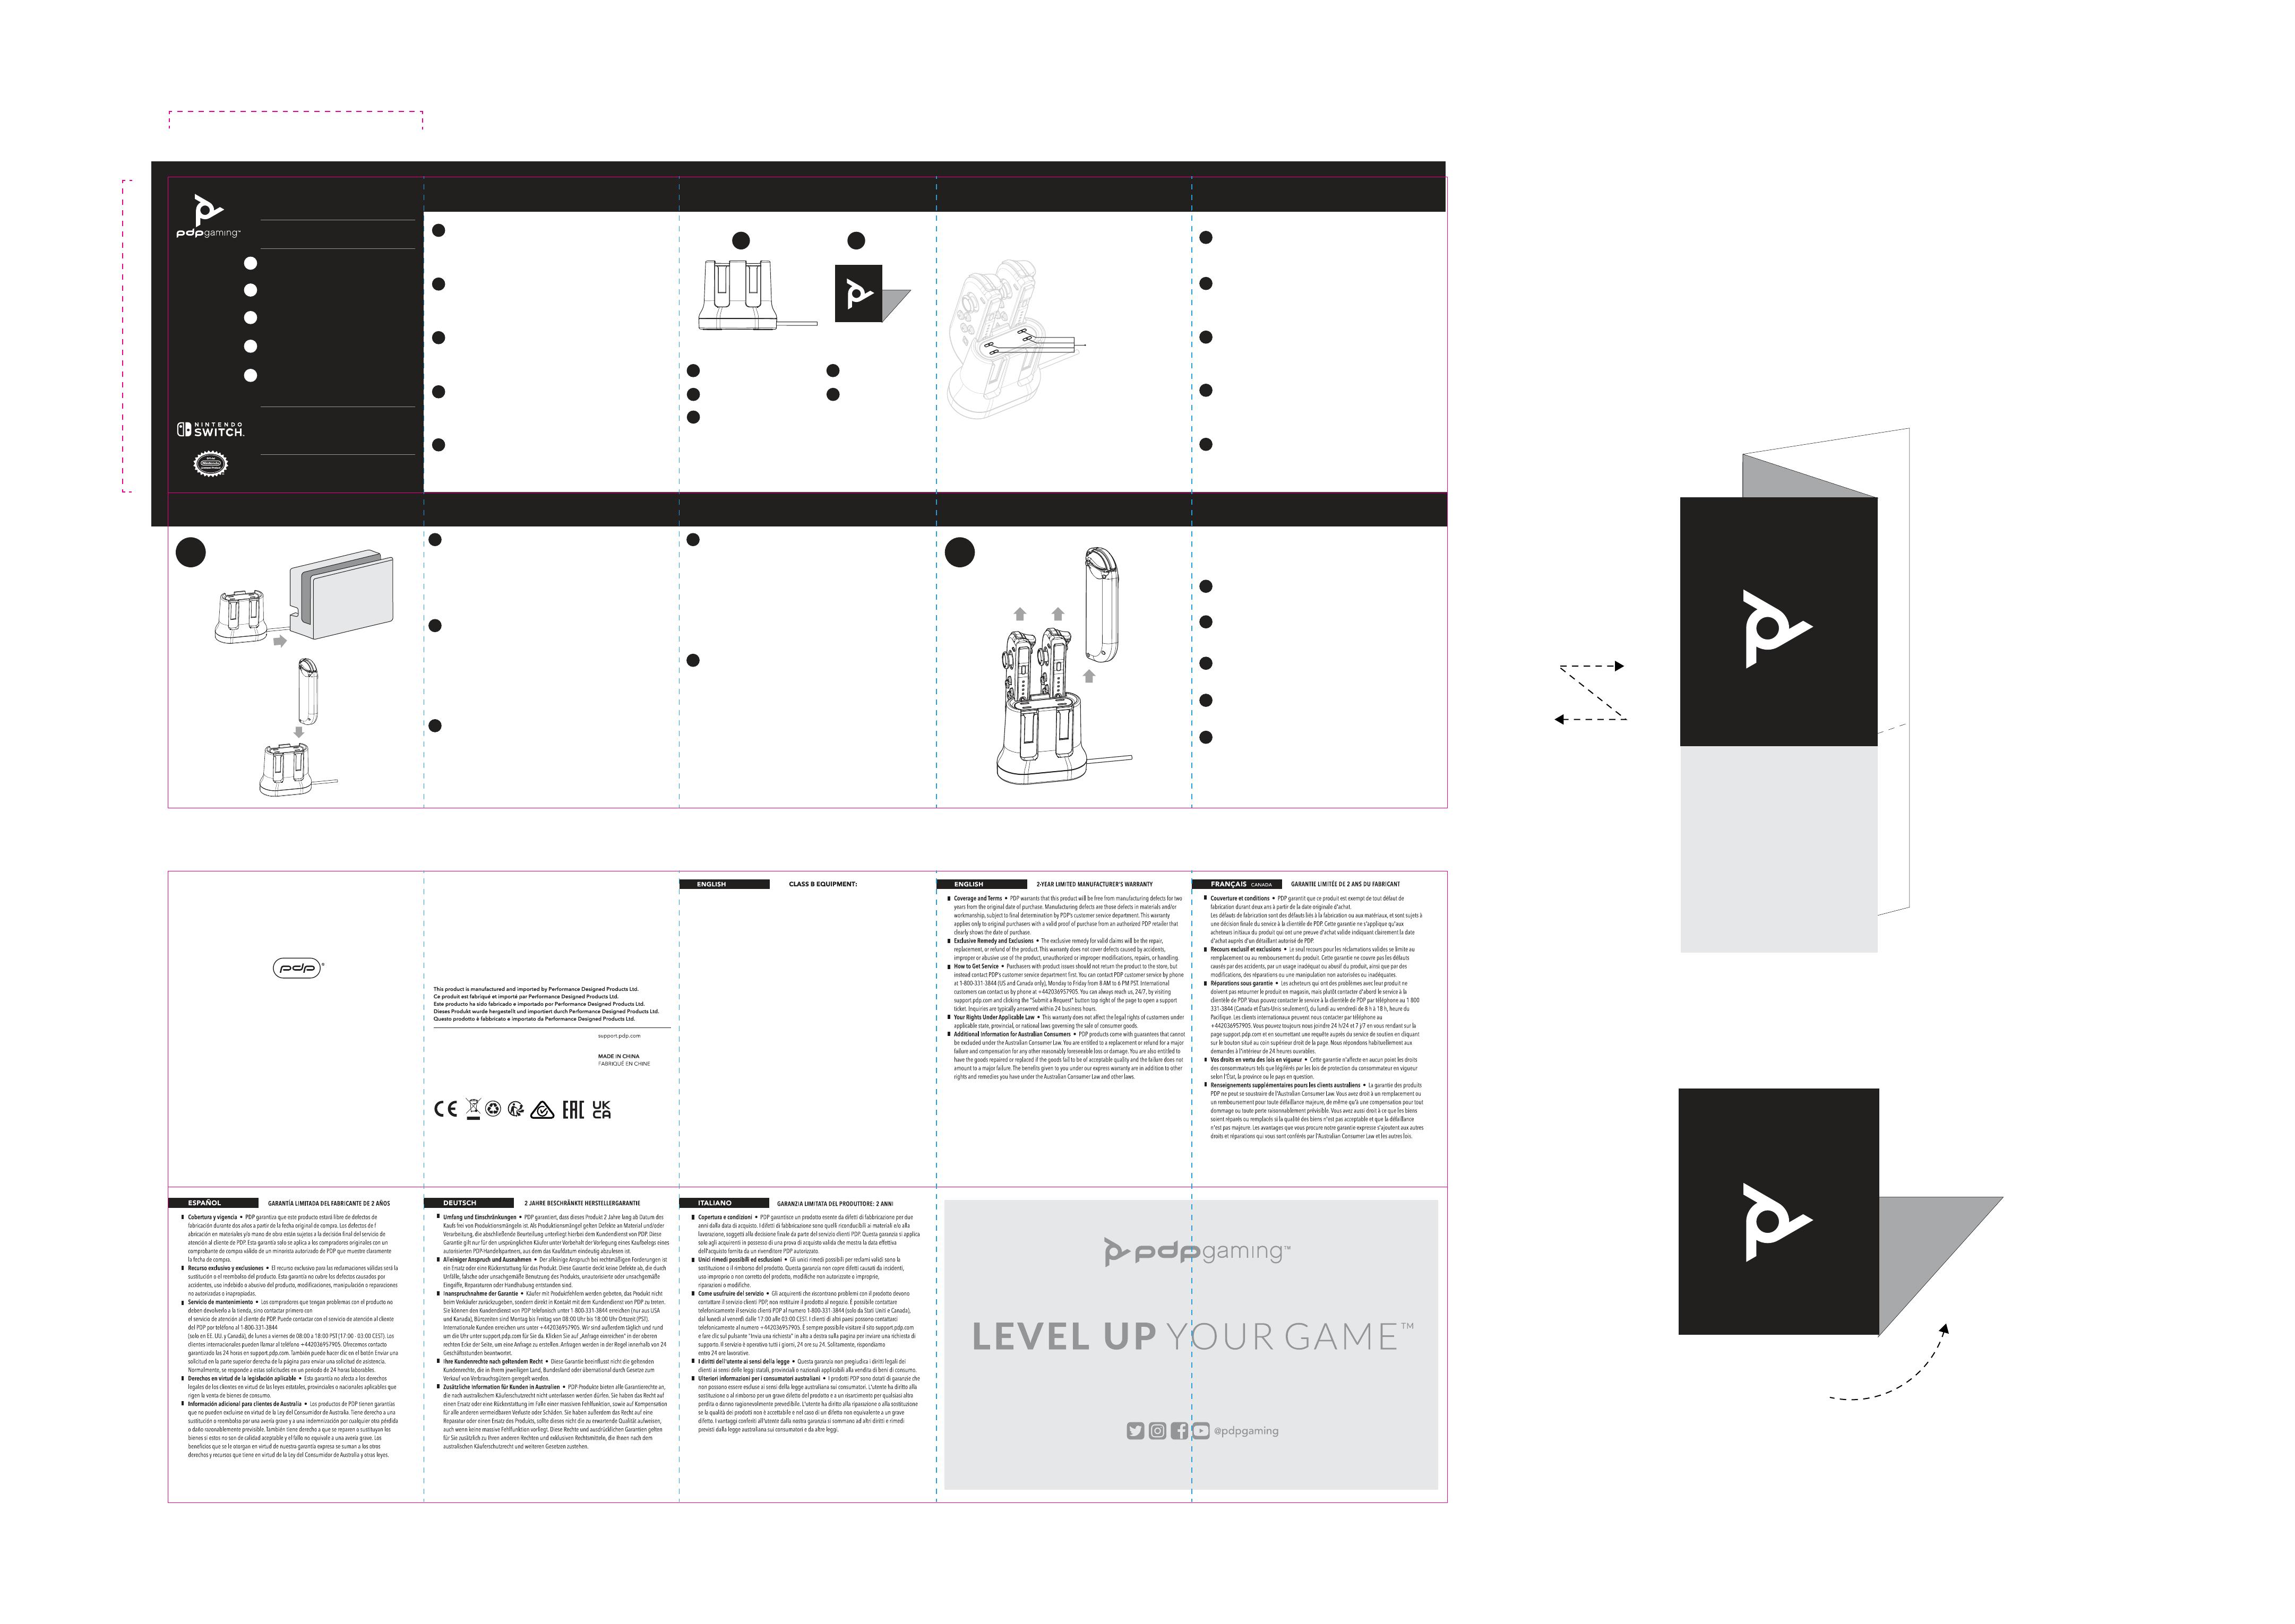
SETUP
500-188
FOR
NINTENDO
SWITCH
JOY-CON™ CHARGING SHUTTLE
STATION DE RECHARGE JOY-CON™
Quick Start Guide
Guide De Démarrage Rapide
2 ans de garantie constructeur limitée:
Si vous rencontrez des problèmes ou avez des questions, veuillez
nous contacter directement sans passer par le magasin distributeur
Veuillez consulter ce guide pour plus d'informations
concernant la garantie.
Further warranty information inside.
PDP GAMING
500-188 JOY-CON CHARGING SHUTTLE
FOR NINTENDO SWITCH
QUICK START GUIDE
ITEMS INCLUDED WITH THE JOY-CON CHARGING SHUTTLE
LIGHTING FEATURES
GETTING STARTED
• Installing & Charging the Joy-Con Controllers
• Removing the Joy-Con Controllers
2-YEAR LIMITED MANUFACTURER’S
ARTICLES INCLUS AVEC LA STATION DE RECHARGE JOY-CON
FONCTIONNALITÉS D'ÉCLAIRAGE
INSTALLATION
• Installer et recharger les manettes Joy-Con
• Retirer les manettes Joy-Con
INFORMATIONS SUR LES 2ANS DE GARANTIE CONSTRUCTEUR LIMITÉE
EN
Need Help?
Visit support.pdp.com or talk to us at (800) 331-3844
( USA and Canada only) or +442036957905 (UK only).
Besoin d’aide?
Visitez support.pdp.com ou appelez-nous au (800) 331-3844 (
États-Unis et Canadaseulement) ou +33184886234 (France).
Necesita ayuda?
Viste support.pdp.com o llame al (800) 331-3844
(Estados Unidos y Canadá unicamente)o +34911982897 (España).
?
´
Noch Fragen?
Geh auf support.pdp.com oder ruf uns an unter +494087408688
(Deutschland) oder +31208080923 (Niederlande).
Hai bisogno di aiuto?
Visita il sito support.pdp.com oppure contattaci al numero
(800) 331-3844 (solo per Canada e Stati Uniti) o
al +390294753553 (Italia).
EN
FR
ES
DE
IT
FR
QUÉ INCLUYE LA ESTACIÓN DE CARGA PARA JOY-CON
ILUMINACIÓN
GUÍA DE INICIO RÁPIDO
• Instalar y cargar los mandos Joy-Con
• Retirar los mandos Joy-Con
INFORMACIÓN SOBRE LA GARANTÍA LIMITADA DE 2 AÑOS DEL FABRICANTE
ES
MIT DER JOY-CON-LADEHALTERUNG ENTHALTENE GEGENSTÄNDE
BELEUCHTUNGSFUNKTION
EINRICHTUNGSANLEITUNG
• Installieren und Aufladen der Joy-Con-Controller
• Entfernen der Joy-Con-Controller
INFORMATION ÜBER DIE 2 JAHRE BESCHRÄNKTE HERSTELLERGARANTIE
OGGETTI INCLUSI CON LO SHUTTLE DI RICARICA JOY-CON
FUNZIONALITÀ ILLUMINAZIONE
PER INIZIARE
• Installazione e ricarica dei controller Joy-Con
• Rimozione dei controller Joy-Con
INFORMAZIONI SULLA GARANZIA LIMITATA DEL PRODUTTORE (2 ANNI)
DE
IT
EN
FR
A B
ES
DE
IT
EN LED CHARGING INDICATOR: Once you connect the Joy-Con Charging
Shuttle to a power source, the LED indicators on the top of the charging
shuttle will turn on and begin flashing. The individual charging indicators
let you know the charge status of each Joy-Con controller. Once fully
charged, the lights will remain solid.
VOYANTS DE CHARGE LED: Lorsque vous branchez la station de
recharge Joy-Con à une source d'alimentation, les voyants LED situés
sur le dessus de la station s'allument et se mettent à clignoter. Les
voyants de charge individuels vous informent du statut de charge de
chaque manette Joy-Con. Lorsque la batterie est totalement rechargée,
les voyants se stabilisent.
FR
IT INDICATORI LED DI RICARICA: Una volta collegato lo shuttle di ricarica
Joy-Con a una fonte di alimentazione, gli indicatori LED sulla parte
superiore dello shuttle di ricarica si accendono e iniziano a lampeggiare.
Gli indicatori di carica individuali mostrano lo stato di carica di ciascun
controller Joy-Con. A carica ultimata, le luci diventano fisse.
INDICADORES DE CARGA LED: Al conectar a la corriente la estación
de carga para Joy-Con, los indicadores LED de la parte superior de la
estación se encenderán y empezarán a parpadear. Los indicadores
de carga individuales te informarán del estado de carga de cada
mando Joy-Con. Una vez estén cargados por completo, las luces se
quedarán fijas.
ES
LED-LADEANZEIGE: Sobald die Joy-Con-Ladehalterung mit einer
Stromquelle verbunden wurde, wird die LED-Anzeige am oberen
Ende der Ladehalterung aktiv und beginnt zu blinken. Die jeweiligen
Ladeanzeigen verdeutlichen den Status der Aufladung für die
Joy-Con-Controller. Wenn der/die Controller vollständig aufgeladen
ist/sind, leuchtet das Licht durchgehend.
DE
LED CHARGING INDICATORS • VOYANTS DE CHARGE LED • INDICADORES DE CARGA LED
LED-LADEANZEIGE • INDICATORI LED DI RICARICA
2
INSTALLING & CHARGING THE JOY-CON CONTROLLERS • INSTALLER ET CHARGER LES MANETTES JOY-CON
INSTALAR Y CARGAR LOS MANDOS JOY-CON • INSTALLIEREN UND AUFLADEN DER JOY-CON-CONTROLLER
INSTALLAZIONE E RICARICA DEI CONTROLLER JOY-CON
REMOVING THE JOY-CON CONTROLLERS • RETIRER LES MANETTES JOY-CON
RETIRAR LOS MANDOS JOY-CON • ENTFERNEN DER JOY-CON-CONTROLLER
RIMOZIONE DEI CONTROLLER JOY-CON
accordian fold
fold up & down
2-Year Limited Manufacturer’s Warranty:
For product issues,contact us instead of returning to the store.
ITEMS INCLUDED • ARTICLES INCLUS • ARTÍCULOS INCLUIDOS
ENTHALTENE GEGENSTÄNDE • OGGETTI INCLUSI
IN THIS QUICK START GUIDE • DANS CE GUIDE DE DÉMARRAGE RAPIDE
EN ESTA GUÍA DE INICIO RÁPIDO • IN DIESER SCHNELLSTARTANLEITUNG
IN QUESTA GUIDA RAPIDA
1
A: Charging Shuttle
B: Quick Start Guide
A: Station de recharge
B: Guide de démarrage rapide
A: Estación de carga
B: Guía de inicio rápido
A: Ladehalterung
B: Schnellstart-Anleitung
A: Shuttle di ricarica
B: Guida rapida
IT • Per installare lo shuttle di ricarica Joy-Con, collegare il cavo USB al dock di
Nintendo Switch o a qualsiasi altra porta USB.
• Una volta effettuato il collegamento, gli indicatori LED di ricarica sulla parte
superiore dello shuttle di ricarica lampeggiano 3 volte, indicando che il
sistema è pronto.
• Allineare i controller Joy-Con con i binari sullo shuttle di ricarica e farli
scorrere con cautela verso il basso fino in fondo.
• Gli indicatori LED di ricarica si accendono e iniziano a indicare che i
controller Joy-Con sono stati installati correttamente.
• Durante la ricarica, gli indicatori LED mostrano lo stato di carica di ciascun
controller Joy-Con.
• Gli indicatori LED di ricarica diventano fissi a carica ultimata.
FR
• Para configurar la estación de carga para Joy-Con, conecta el cable USB al
dock de Nintendo Switch u a otro puerto USB.
• Cuando esté conectado, los indicadores de carga LED de la parte superior de la
estación de carga parpadearán 3 veces, indicando que está lista para funcionar.
• Coloca los mandos Joy-Con con los rieles en la estación de carga y desliza con
cuidado hacia abajo hasta que den con un tope.
• Los indicadores de carga LED se iluminarán y empezarán a parpadear para
indicar que los mandos Joy-Con están colocados correctamente.
• Mientras se estén cargando, los indicadores LED mostrarán el estado de carga
de cada mando Joy-Con.
• Cuando estén cargados, el indicador LED de carga se quedará fijo.
ES
• Um die Joy-Con-Ladehalterung einzurichten, schließen Sie bitte das
USB-Kabel an die Station der Nintendo Switch oder einen beliebigen
anderen USB-Anschluss an.
• Wenn die Verbindung hergestellt wurde, blinkt die LED-Ladeanzeige am
oberen Ende der Ladehalterung 3-mal auf. Damit wird der „Bereitschafts-
modus“ angezeigt.
• Richten Sie die Joy-Con-Controller an den Schienen der Ladehalterung aus
und schieben Sie sie vorsichtig so weit nach unten, bis sie nicht mehr
weitergeschoben werden können.
• Die LED-Ladeanzeige wird aktiv und das Licht nimmt rhythmisch ab und zu,
um anzuzeigen, dass die Joy-Con-Controller korrekt eingesetzt wurden.
• Beim Laden zeigt die LED-Ladeanzeige den einzelnen Ladestatus für jeden
Joy-Con-Controller an.
• Die LED-Ladeanzeige leuchtet durchgehend, wenn die Aufladung
vollständig abgeschlossen ist.
DEEN • To set up your Joy-Con Charging Shuttle, connect the USB cable to the
Nintendo Switch Dock, or any other USB port.
• Once connected, the LED charging indicators on top of the charging shuttle
will flash 3 times, indicating “ready” status.
• Line up the Joy-Con controllers with the rails on the charging shuttle and
carefully slide them down until they can’t go any further.
• The LED charging indicators will light up and begin breathing to indicate the
Joy-Con controllers are properly installed.
• When charging, the LED indicators will show the charge status of each
respective Joy-Con controller.
• The LED charging indicators will remain solid when fully charged.
• Pour installer votre station de recharge Joy-Con, reliez le câble USB à la
station d'accueil Nintendo Switch ou un autre port USB.
• Une fois le câble relié, les voyants de charge LED au-dessus de la station de
recharge clignoteront 3fois, indiquant que la station est prête à l'emploi.
• Alignez les manettes Joy-Con avec les glissières de la station de recharge et
faites-les glisser doucement vers le bas jusqu'à ce qu'elles ne puissent plus
descendre davantage.
• Les voyants de charge LED s'allumeront et commenceront à clignoter pour
indiquer que les manettes Joy-Con sont installées correctement.
• Pendant la charge, les voyants LED indiqueront le statut de charge de
chaque manette Joy-Con.
• Lorsque les manettes sont entièrement rechargées, les voyants de charge
LED se stabilisent.
EN To remove a Joy-Con controller from the Joy-Con Charging Shuttle,
simply pull the controller up and out.
IT Per rimuovere un controller Joy-Con dallo shuttle di ricarica Joy-Con, tirare
il controller verso l'alto ed estrarlo.
Pour retirer une manette Joy-Con de la station de recharge Joy-Con, tirez
simplement la manette vers le haut jusqu'à ce qu'elle soit sortie.
FR
Para retirar los mandos Joy-Con de la estación de carga, solo tienes que
tirar de los mandos hacia arriba y sacarlos.
ES
Um die Joy-Con-Controller aus der Joy-Con-Ladehalterung zu entfernen,
ziehen Sie die Controller einfach nach oben und dann heraus.
DE
© 2021 Performance Designed Products LLC. PDP, PDP Gaming, Level Up Your Game,
and their respective logos are trademarks and/or registered trademarks of Performance
Designed Products LLC. All rights reserved. © 2021 Nintendo. Nintendo Switch is a
trademark of Nintendo. Licensed by Nintendo. All rights reserved. All other logos and
trademarks are the property of their respective owners.
Please keep this information for future reference.
© 2021 Performance Designed Products LLC. PDP, PDP Gaming, Level Up Your Game, et
ses logosrespectifs sont des marques de commerce et/ou marques déposées de
Performance Designed Products LLC. Tous droits réservés. © 2021 Nintendo. Nintendo
Switch est une marque de commerce de Nintendo. Sous licence par Nintendo. Tous droits
réservés. Tous les autres logos et toutes les autres marques de commerce sont la
propriété de leurs détenteurs respectifs.
Veuillez conserver ces informations pour référence ultérieure.
For Australia Only: Our goods come with guarantees that cannot be excluded under the
Australian Consumer Law. You are entitled to a replacement or refund for a major failure
and for compensation for any other reasonably foreseeable loss or damage. You are also
entitled to have the goods repaired or replaced if the goods fail to be of acceptable
quality and the failure does not amount to a major failure.
Note: This equipment has been tested and found to comply with the limits for a Class B digital device,
pursuant to part 15 of the FCC Rules. These limits are designed to provide reasonable protection against
harmful interference in a residential installation. This equipment generates, uses and can radiate radio
frequency energy and, if not installed and used in accordance with the instructions, may cause harmful
interference to radio communications.
However, there is no guarantee that interference will not occur in a particular installation. If this
equipment does cause harmful interference to radio or television reception, which can be determined by
turning the equipment off and on, the user is encouraged to try to correct the interference by one or
more of the following measures:
-Reorient or relocate the receiving antenna.
-Increase the separation between the equipment and receiver.
-Connect the equipment into an outlet on a circuit different from that to which the
receiver is Connected.
-Consult the dealer or an experienced radio/TV technician for help.
This device complies with part 15 of the FCC Rules. Operation is subject to the following two conditions:
(1) This device may not cause harmful interference, and (2) this device must accept any interference
received, including interference that may cause undesired operation.
LED CHARGING INDICATORS
VOYANTS DE CHARGE LED
INDICADORES DE CARGA LED
LED-LADEANZEIGE
INDICATORI LED DI RICARICA
Performance Designed Products Ltd.
Tower 42, 25 Old Broad Street, London, EC2N 1HQ
Performance Designed Products Australia Pty Ltd.
GPO Box 457 Brisbane, QLD 4001, Australia
Performance Designed Products Ltd.
Herikerbergweg 88, 1101 CM Amsterdam, Netherlands
Performance Designed Products LLC.
4225 W Buckeye Rd #2, Phoenix, AZ 85009, USA
85mm
EACH PANEL
105mm

